
ZauberEditor: A New Extendable Blazor Rich Text Editor

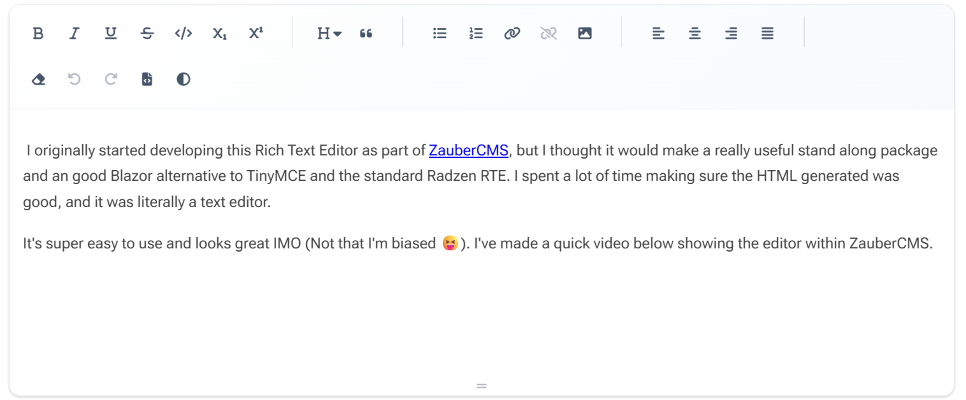
I originally started developing this Rich Text Editor as part of ZauberCMS, but I thought it would make a really useful stand along package and an good Blazor alternative to TinyMCE and the standard Radzen RTE. I spent a lot of time making sure the HTML generated was good, and it was literally a text editor.
It's super easy to use and looks great IMO (Not that I'm biased 😝). I've made a quick video below showing the editor in action.
It's super simple to get things going, just install the Nuget package
dotnet add package ZauberCMS.RTE
Then in your Program.cs setup the editor. There are a ton of settings you can change of update, check out the readme in the repo for more on that.
using ZauberCMS.RTE.Services;

var builder = WebApplication.CreateBuilder(args);

// Add Zauber RTE services
builder.Services.AddZauberRte();

// IMPORTANT: If using base64 image uploads (AllowBase64ImageUpload = true),
// increase SignalR message size limit to support large images
builder.Services.AddSignalR(options =>
{
    options.MaximumReceiveMessageSize = 1 * 1024 * 1024; // 1 MB
});

var app = builder.Build();
SignalR
There is the option to enable embedding images in the settings, but Base64-encoded images can be large (a 50KB image becomes ~67KB when base64-encoded). So if you do enable you will need to tweak the MaximumReceiveMessageSize as in the example above.
You then need to add the editor CSS and JS to your layout, currently it uses Font Awesome for the icons on the buttons, but I am debating on changing that to be just SVG's.
<head>
    <!-- Other head content -->

    <!-- Zauber RTE Styles (required) -->
    <link rel="stylesheet" href="_content/ZauberCMS.RTE/css/fontawesome.min.css" />
    <link rel="stylesheet" href="_content/ZauberCMS.RTE/css/zauber-editor.css" />
</head>

<body>
    <!-- Your app content -->
    <script src="_framework/blazor.web.js"></script>

    <!-- Zauber RTE Scripts (required) -->
    <script src="_content/ZauberCMS.RTE/js/lib/purify.min.js"></script>
    <script src="_content/ZauberCMS.RTE/js/zauber-rte.js"></script>
</body>
Then finally, just use the Editor where ever you like.
@using ZauberCMS.RTE.Components
@using ZauberCMS.RTE.Models

<ZauberRichTextEditor @bind-Value="editorContent"
                      Settings="editorSettings"
                      OnChange="HandleContentChange" />

@code {
    private string editorContent = "";
    private EditorSettings editorSettings = EditorSettings.CmsDefault();

    private void HandleContentChange(EditorChangeArgs args)
    {
        // Handle content changes
        Console.WriteLine($"Content changed: {args.Html}");
    }
}
One of the key things for this editor, was to make sure the Toolbar items are pluggable and to be easy to create your own new ones, or update the layout of the icons in the toolbar easily. Below is a very quick example of creating your own custom Toolbar button.
Custom Toolbar Example
@code {
    private string content = "";

    private EditorSettings settings = new()
    {
        ToolbarLayout = ToolbarLayout.FromItems(
            new ToolbarBlock("bold", "italic", "underline"),
            new ToolbarSeparator(),
            new ToolbarBlock("link", "image")
        )
    };
}
Insert Emoji Toolbar Example
A very simple example, showing how to create a toobar button and show the item in a new toolbar menu.
using ZauberCMS.RTE.Models;

public class EmojiItem : ToolbarItemBase
{
    public override string Id => "emoji";
    public override string Label => "Insert Emoji";
    public override string IconCss => "fa-smile";

    public override async Task ExecuteAsync(IEditorApi api)
    {
        await api.InsertHtmlAsync("😀");
    }
}
@page "/custom-toolbar"
@using ZauberCMS.RTE.Components
@using ZauberCMS.RTE.Models
<ZauberRichTextEditor @bind-Value="content"
Settings="@settings" />
@code {
private string content = "";
private EditorSettings settings = new()
{
ToolbarLayout = ToolbarLayout.FromItems(
new ToolbarBlock("bold", "italic"),
new ToolbarSeparator(),
new ToolbarBlock("emoji") // Your custom item
)
};
}